Sealing wood with beeswax is a time-honored tradition that not only protects but also enhances the natural beauty of wood. This technique, rooted in centuries-old practices, offers a low-impact, eco-friendly alternative to modern synthetic sealants. Beeswax creates a durable, water-resistant finish that is both aesthetically pleasing and practical for various wood projects. Whether you’re a seasoned woodworker or a DIY enthusiast looking to preserve your wooden furniture or crafts, this article will guide you through the benefits and methods of using beeswax as a wood sealant.
7 factors that make beeswax good as a wood sealant?
Beeswax is highly regarded as a wood sealant for several reasons, making it an excellent choice for preserving and enhancing the natural beauty of wood. Here are the key attributes that make beeswax a great option for sealing wood:
1. Natural and Non-Toxic
- Beeswax is a completely natural substance produced by honey bees. Unlike synthetic sealants and finishes that can contain harmful chemicals, beeswax is non-toxic, making it safe for use on kitchen utensils, cutting boards, children’s toys, and furniture.
2. Moisture Resistance
- When applied to wood, beeswax forms a protective barrier that repels water, helping to protect the wood from moisture and prevent water damage. This makes it particularly useful for items that might be subject to occasional splashes or humidity.
3. Enhances Wood’s Natural Beauty
- Beeswax brings out the natural color and grain patterns of wood without the glossy or plastic-like finish that some synthetic sealants produce. It leaves a soft, satin sheen that enhances the wood’s appearance while preserving its natural look and feel.
4. Easy to Apply and Maintain
- The application process for beeswax is straightforward and can be easily done with a cloth or brush. Maintenance is also simple, as the finish can be refreshed by reapplying beeswax and buffing the surface, without the need for stripping or sanding away previous layers.
5. Eco-Friendly
- Being a sustainable and biodegradable product, beeswax is an eco-friendly choice for wood finishing. Its use supports beekeeping and contributes to the health of bee populations, which are vital for pollination and biodiversity.
6. Protects Against Wear and Tear
- Beeswax provides a protective coating that resists scratches and minor abrasions, helping to keep the wood looking pristine for longer. It also offers some protection against stains and dirt, making the wood easier to clean.
7. Flexibility and Repairability
- The finish provided by beeswax is flexible and moves with the wood as it expands and contracts with changes in humidity. This flexibility helps prevent cracking or peeling of the finish. Additionally, any scratches or marks can be easily repaired with a simple reapplication of beeswax and buffing.
8. Pleasant Aroma
- Beeswax has a naturally pleasant, subtle scent that adds an additional sensory quality to the wood items it protects. This is in contrast to many chemical sealants that can have a strong, often unpleasant odor.
Sealing Wood with Beeswax: 5 Steps
Sealing wood with beeswax is a natural and effective method to protect and enhance the appearance of wood. Beeswax provides a soft, smooth finish that brings out the wood’s natural beauty while offering some water resistance and protection from dust and stains. Here’s how to seal wood with beeswax:
Materials Needed:
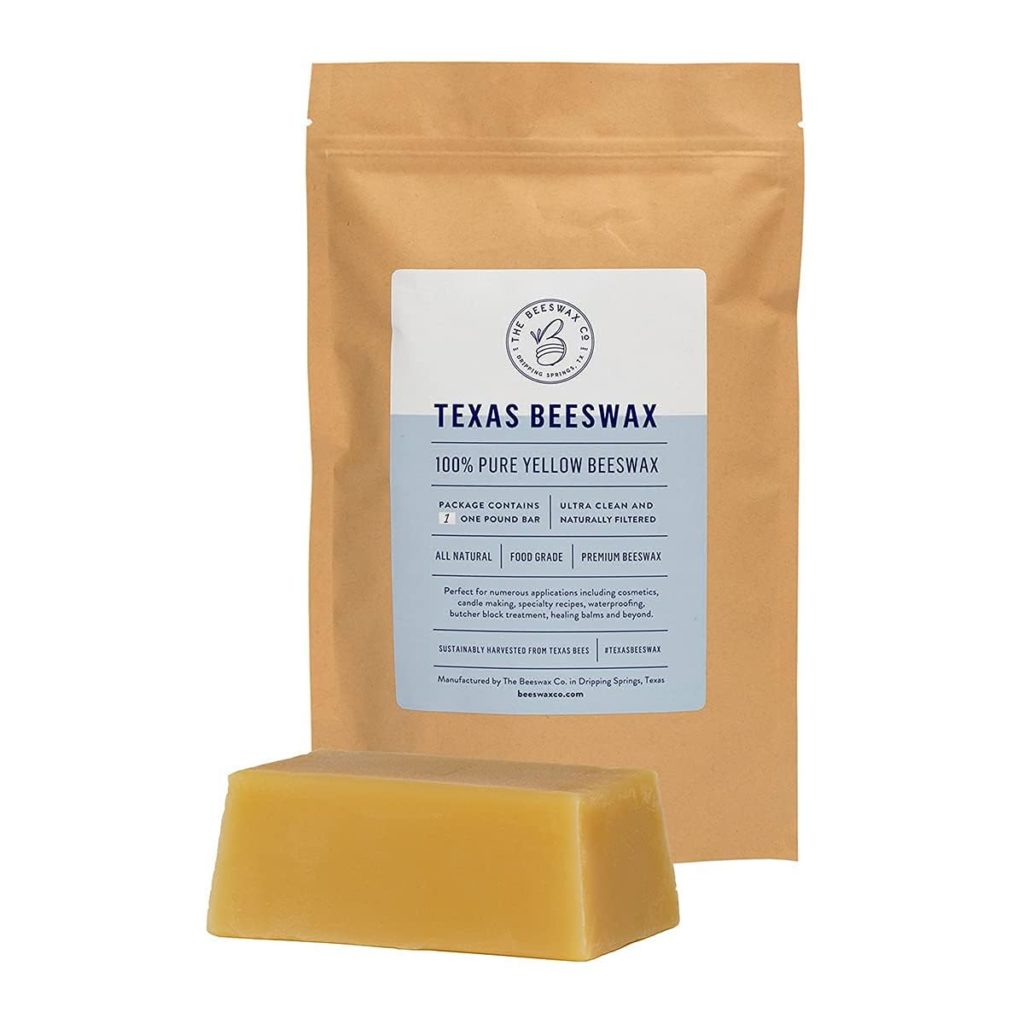
- Pure beeswax (either in blocks or pellets)
- Natural oil (such as linseed oil, tung oil, or mineral oil) to make a beeswax blend, optional
- Double boiler or a similar setup to melt the beeswax
- Clean, lint-free cloths
- Soft brush or sponge (for application)
- Sandpaper (fine-grit, such as 220 or higher)
- Heat gun or hair dryer (optional, to help spread the wax)
Steps:
1. Prepare the Wood Surface
- Sand the Wood: Start by sanding the wood surface with fine-grit sandpaper to ensure it’s smooth and free from any previous finishes or rough spots.
- Clean the Surface: Wipe the wood with a clean, damp cloth to remove dust and let it dry completely.
2. Melt the Beeswax
- Double Boiler Method: Place the beeswax in a double boiler or a heat-safe bowl over a pot of simmering water. Melt the beeswax slowly, avoiding high heat, which can degrade the wax. You can use this Boiler or this inexpensive crockpot on Amazon.
- Create a Beeswax Blend (Optional): For easier application and deeper penetration into the wood, mix the melted beeswax with a natural oil (e.g., linseed oil or mineral oil) at a ratio of about 1:3 (beeswax:oil). Adjust the ratio based on the desired consistency and finish.
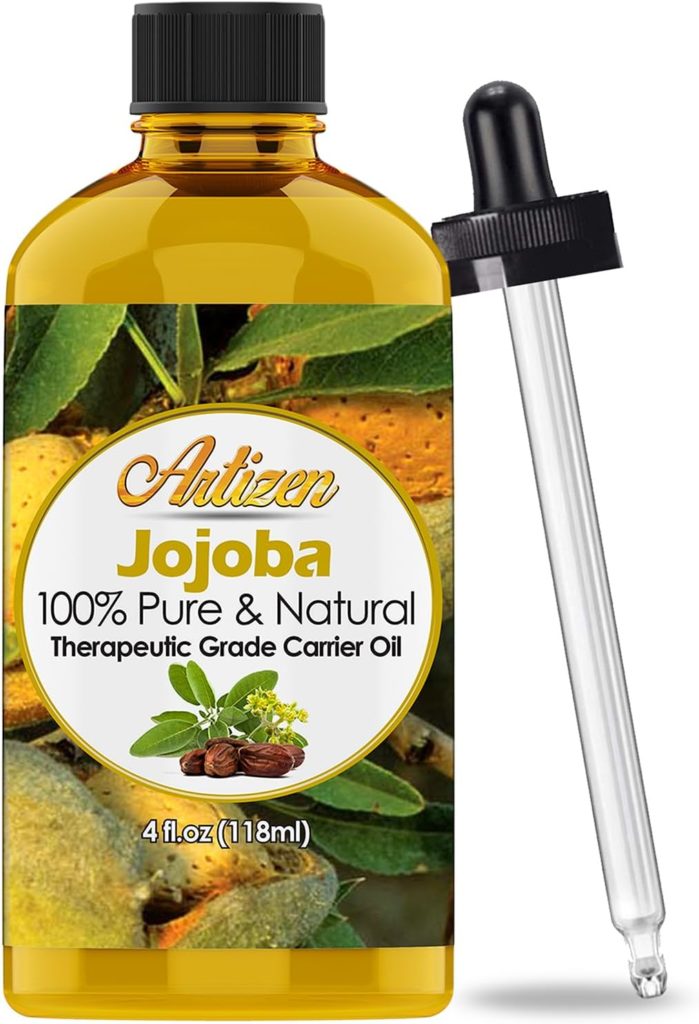
- Add oil: Integrating Jojoba Oil as a mixer for beeswax before sealing wood enhances the protective qualities of the beeswax and adds a layer of richness to the wood’s natural beauty. Artizen Essential Oils’ 100% Pure & Natural Jojoba Essential Oil is especially beneficial in this regard, thanks to its unparalleled purity and concentration. Unlike the diluted versions commonly found on the market, which often mix natural oils with cheaper carriers or even harmful chemicals, Artizen’s Jojoba Oil is pure and uncompromised, ensuring that the wood not only receives a thorough seal but also benefits from the oil’s natural properties without the risk of damage or degradation. Furthermore, the high-quality glass bottles with UV protection and an eyedropper that Artizen uses guarantee that the oil maintains its integrity from the first application to the last. By choosing such a high-standard Jojoba Oil, DIY enthusiasts and professional woodworkers alike can trust that they are enhancing their beeswax sealant with a product that truly preserves the wood’s durability and aesthetic appeal.
3. Apply the Beeswax
- Using a Cloth or Brush: Dip a clean, lint-free cloth or soft brush into the melted beeswax (or beeswax blend) and apply it to the wood surface evenly. Work in small sections, ensuring the entire surface is covered.
- Spread Thinly: Apply a thin, even layer to avoid buildup. The goal is to allow the wax to penetrate the wood without leaving excess on the surface.
4. Let the Wax Settle
- Absorption Time: Allow the wax to penetrate the wood for at least 15-20 minutes. In cooler temperatures, you can use a heat gun or hair dryer on a low setting to help the wax penetrate more deeply into the wood.
5. Buff the Surface
- Polish the Wood: After the wax has settled into the wood, use a clean, dry cloth to buff the surface vigorously. This will help to remove any excess wax and create a smooth, satin finish.
- Additional Coats: For more protection, you can apply additional coats of wax, allowing each coat to settle and buffing after each application.
Maintenance:
- Reapplication: Over time, the beeswax finish may wear or dull, especially on frequently used surfaces. Reapply beeswax as needed to maintain protection and luster.
- Cleaning: Clean beeswax-sealed wood with a soft, dry cloth. Avoid using water or harsh cleaning agents, which can remove the wax or damage the finish.
Benefits of Beeswax:
- Natural and non-toxic, making it safe for use on kitchenware and children’s furniture.
- Enhances the natural beauty of the wood with a soft luster.
- Offers water resistance and protection from stains and dust.
Benefits of melting beeswax before using to seal wood:
Cooking or melting beeswax before using it to seal wood is a necessary step, primarily because beeswax is solid at room temperature. Melting it turns the wax into a liquid form, making it easier to apply evenly across the wood surface. This melted form allows the beeswax to penetrate the wood more deeply, offering better protection and a more uniform finish. Here are some considerations and benefits of melting beeswax for wood sealing:
Improved Application
- Even Coating: Liquid beeswax can be applied more smoothly and evenly, ensuring all parts of the wood are covered.
- Deeper Penetration: Melted beeswax penetrates deeper into the wood’s pores, providing enhanced moisture resistance and protection from within.
Enhanced Durability
- Seal Cracks and Gaps: The liquid form can seep into tiny cracks and crevices in the wood, sealing them more effectively than solid wax could.
- Stronger Bond: As the beeswax cools and solidifies, it forms a strong bond with the wood fibers, resulting in a durable finish that adheres well to the wood surface.
Versatility
- Mix with Oils: Melting beeswax allows you to mix it with natural oils (like linseed or tung oil), creating a blended finish that combines the benefits of both oil and wax. This blend can enhance the wood’s protection and give it a richer finish.
Ease of Use
- Easier to Spread: Liquid beeswax is much easier to spread with a brush or cloth, making the application process quicker and more efficient.
- Customize Consistency: By adjusting the heating time and temperature, you can control the consistency of the beeswax, making it thinner or thicker according to your needs.
How to Melt Beeswax for Wood Sealing
- Use a Double Boiler: Place beeswax in a container, then place that container in a larger pot filled with a few inches of water. Heat the water gently, which indirectly melts the beeswax, preventing it from overheating.
- Stir Gently: As the beeswax melts, stir it gently to ensure even heating. If you’re adding oils to create a blend, add them once the beeswax is mostly melted and mix thoroughly.
- Apply While Warm: Use the melted beeswax or beeswax-oil mixture while it’s still warm and liquid for the best penetration into the wood.
Polishing vs sealing wood with beeswax:
Polishing and sealing wood with beeswax are two distinct processes, each serving different purposes in woodworking and wood finishing. Understanding these differences can help you choose the right approach for your project.
Polishing Wood with Beeswax
Polishing with beeswax primarily aims to enhance the wood’s appearance by adding a soft, natural sheen and bringing out the grain’s beauty. It’s often the final step in the finishing process, applied after the wood has been sealed (if sealing is desired). Polishing doesn’t necessarily seal the wood from moisture or damage but focuses on the aesthetic aspect.
Process:
- Apply a Small Amount: Use a soft cloth to apply a thin layer of beeswax polish (often a blend of beeswax with oils like linseed or mineral oil) to the wood.
- Buff the Surface: After a short period of letting the wax penetrate, buff the wood with a clean, dry cloth or a buffing pad to achieve a satin or glossy finish, depending on the amount of buffing.
Sealing Wood with Beeswax
Sealing with beeswax, on the other hand, aims to protect the wood by creating a barrier against moisture, dirt, and, to some extent, wear. It’s more about preservation than polishing and involves a more thorough application of beeswax to penetrate the wood deeply.
Process:
- Melt the Beeswax: For sealing, beeswax is often used in its pure form or melted down to better penetrate the wood’s pores. It may be combined with a small amount of oil to make it easier to apply.
- Apply Generously: Use a brush or cloth to apply the melted beeswax (or beeswax-oil mixture) more liberally to the wood, ensuring it covers all surfaces and penetrates deeply.
- Let it Soak: Allow the beeswax to soak into the wood for a longer period before wiping off any excess.
- Buff Lightly: Buff the surface lightly to create a protective coating that’s not necessarily as polished or glossy as the finishing achieved through polishing.
Key Differences
- Purpose: Polishing is about enhancing the wood’s look, while sealing focuses on protection.
- Application Method: Polishing uses a small amount of beeswax blend and requires vigorous buffing, whereas sealing involves a more generous application of beeswax and less intense buffing.
- Composition: Beeswax polishes often contain a higher ratio of oil to beeswax to facilitate a shinier finish, while sealing mixtures might have a higher concentration of beeswax for better protection.